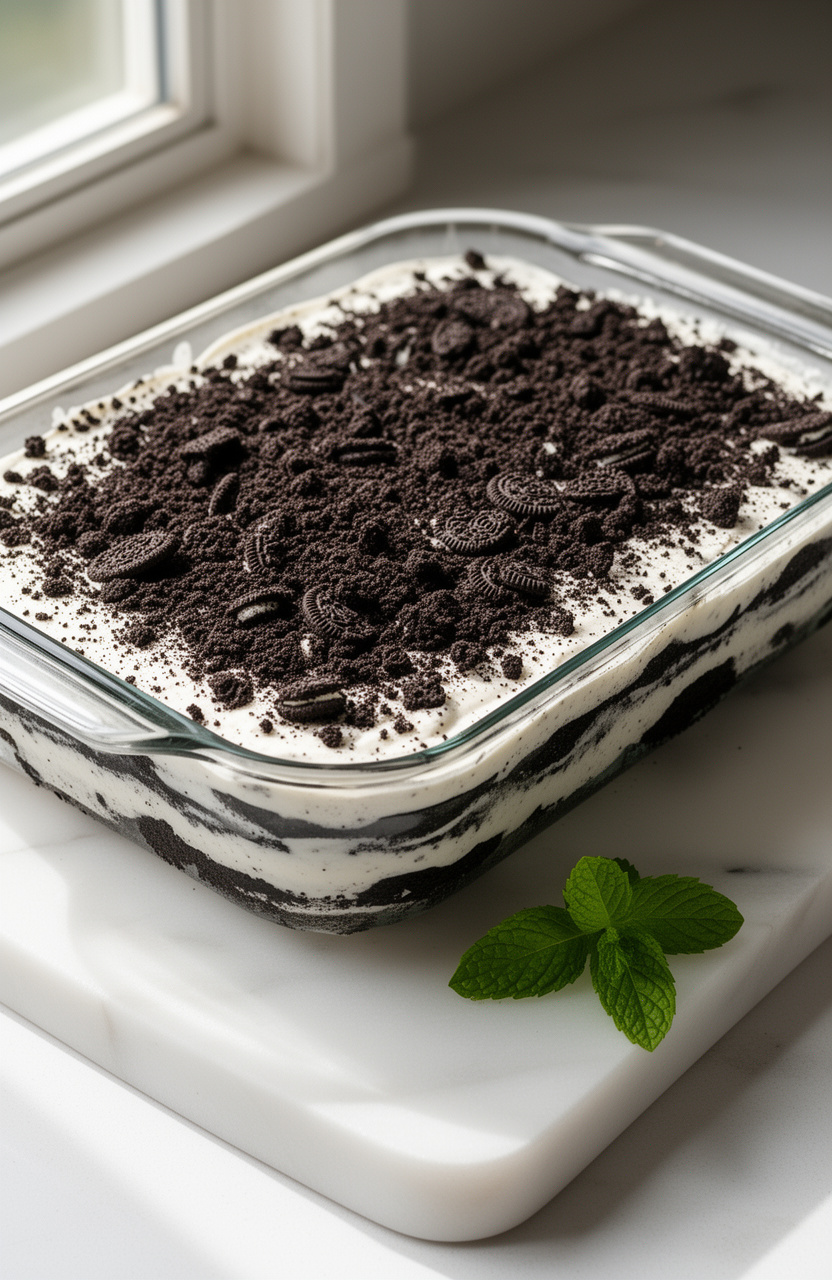
No-Bake Oreo Icebox Cake For Easy Summer Entertaining
My neighbor brought this to a block party years ago and I watched it disappear in under 10 minutes, which told me everything I needed to know.
There is no oven, no mixer required beyond whipped cream, and the freezer does all the real work while you do something else entirely.
No-Bake Oreo Icebox Cake For Easy Summer Entertaining
Layers of Oreos and whipped cream that set into something sliceable, cool, and exactly what a hot-weather gathering needs.
Ingredients
- 3 cups heavy whipping cream , cold from the fridge
- 3 tablespoons powdered sugar
- 1 teaspoon pure vanilla extract
- 2 packages Oreo cookies , standard 14.3 oz each, divided
- 8 oz cream cheese , softened to room temperature
- 1 can sweetened condensed milk , 14 oz
- 1 teaspoon vanilla extract , for cream cheese layer
Instructions
Tips & Notes
- Do not use Oreo Thins. They dissolve too fast and the layers lose structure.
- If you want cleaner slices for a party, chill overnight instead of the minimum 4 hours. The difference in texture is worth it.
- A 9x13 pan gives 12 generous servings. For a smaller group, halve the recipe in an 8x8 dish and reduce chilling to 3 hours minimum.
- Crushed Oreos on top can get slightly wet after overnight chilling. Add them in the last hour before serving if you want them to stay distinct.
- The cream cheese layer is what keeps this from being too sweet or one-note. Do not skip it in favor of plain whipped cream.
Nutrition per serving · estimated


Why the Layering Order Matters
The cookies need direct contact with the cream on both sides to soften evenly. If you press them too close together at the edges without filling reaching the sides, those corners stay crunchy while the center turns cake-like, and the slices pull apart unevenly.
Spread each cream layer all the way to the dish walls before placing the next cookie row. It takes an extra 30 seconds per layer and makes the finished result look clean when you cut into it.
Making It Ahead for a Crowd
This is genuinely one of the better make-ahead desserts because time improves it. Assembled the night before, the layers fuse together into something that slices like a chilled cheesecake bar rather than a pile of softened cookies.
If you are bringing it somewhere, keep it covered and flat in a cooler with ice packs under the dish, not on top of it. It travels well for up to 90 minutes without losing its shape.