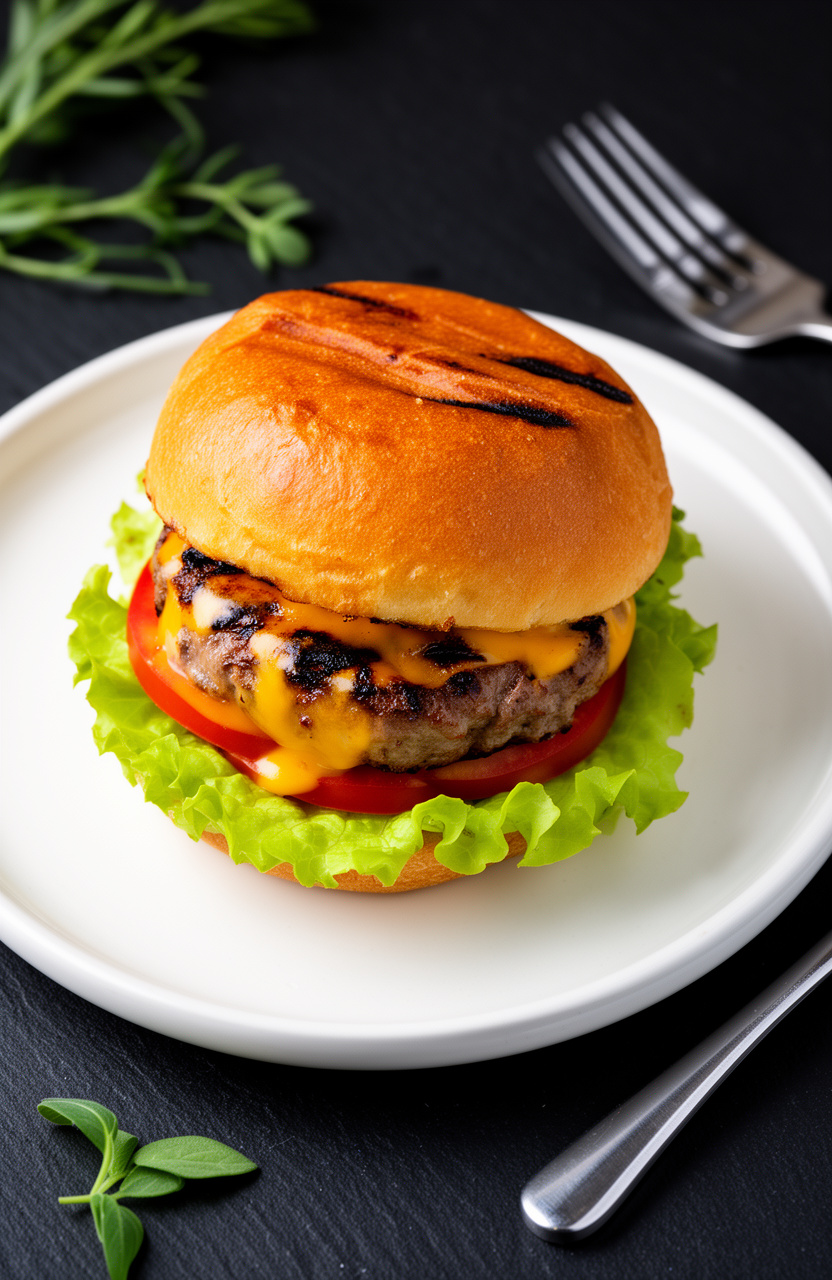
Juicy Cheese-Stuffed Burgers for Graduation Backyard BBQ Cookout
My nephew graduated last spring, and I knew I wanted to make something that would make the whole backyard go quiet the moment people took their first bite. These cheese-stuffed burgers did exactly that, and now they are my go-to every time we fire up the grill for a celebration.
The trick is sealing a pocket of cheese right inside the patty so it melts from the inside out. No more waiting for a slice to melt on top. Every single bite has that oozy, cheesy pull that makes people ask you for the recipe before they even finish eating.
Juicy Cheese-Stuffed Burgers for Graduation Backyard BBQ Cookout
Gooey melted cheese hidden inside every juicy bite makes these burgers the ultimate graduation cookout showstopper.
Ingredients
Burger Patties
- 2 lbs 80/20 ground beef , cold from the fridge
- 1 tsp garlic powder
- 1 tsp onion powder
- 1 tsp smoked paprika
- 1 tsp Worcestershire sauce
- 1.5 tsp kosher salt
- 1 tsp black pepper , freshly cracked
Cheese Filling
- 6 oz sharp cheddar cheese , cut into 6 small cubes or thick slices
- 2 oz cream cheese , softened, optional for extra creaminess
For Serving
- 6 brioche burger buns , toasted on the grill
- 6 lettuce leaves
- 2 tomatoes , sliced
- 1 red onion , thinly sliced
- pickles, ketchup, mustard, and mayo , to taste
Instructions
Prepare the Patties
Grill the Burgers
Assemble and Serve
Tips & Notes
- Keep your ground beef cold right up until you form the patties. Cold fat holds together better and gives you a juicier burger.
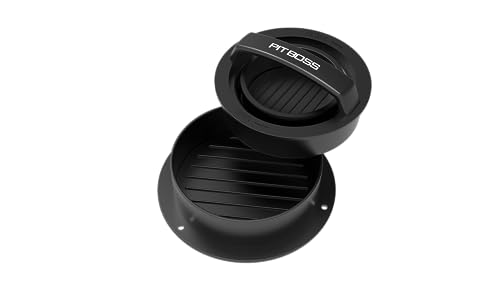
- Seal the edges of the patties really well. Press and pinch firmly all the way around so the cheese does not leak out onto the grill.
- Use block cheese and cut your own cubes. Pre-shredded cheese has a coating that prevents it from melting as smoothly.
- Do not skip the dimple in the center. It is a small step that makes a big difference in keeping your burger flat and even.
- Let the patties rest for a couple of minutes after grilling. This keeps all the juices locked in when you take that first bite.
- For a crowd, form and refrigerate the patties up to 24 hours ahead. Pull them out 10 minutes before grilling.
Nutrition per serving · estimated


Why Stuffing the Cheese Inside Changes Everything
When you melt cheese on top of a burger, it hits the grill grates or cools down fast in the open air. By the time the burger reaches someone's plate, that cheese has already gone from melty to rubbery. Sealing it inside the patty keeps it in its own little pocket of heat the entire time it cooks.
The result is cheese that is completely molten and slightly saucy right in the middle of the burger. It mingles with the beef juices and creates something closer to a sauce than a slice of cheese. Sharp cheddar works beautifully here because its bold flavor cuts through the richness of the beef. Adding just a touch of cream cheese makes the filling even creamier and helps it stay gooey longer.
Making These for a Big Graduation Crowd
One of the best things about this recipe is how easy it is to scale up. Double or triple the batch, form all the patties the night before, and stack them in the fridge between sheets of parchment paper. The morning of the party, all you need to do is fire up the grill.
Set up a topping station with everything laid out so guests can build their own burgers. Put out extra cheese slices, different sauces, bacon, and jalapeños. People love having options at a backyard cookout, and it takes the pressure off you to customize every single order. These stuffed patties are impressive enough on their own that even a simple setup feels special.