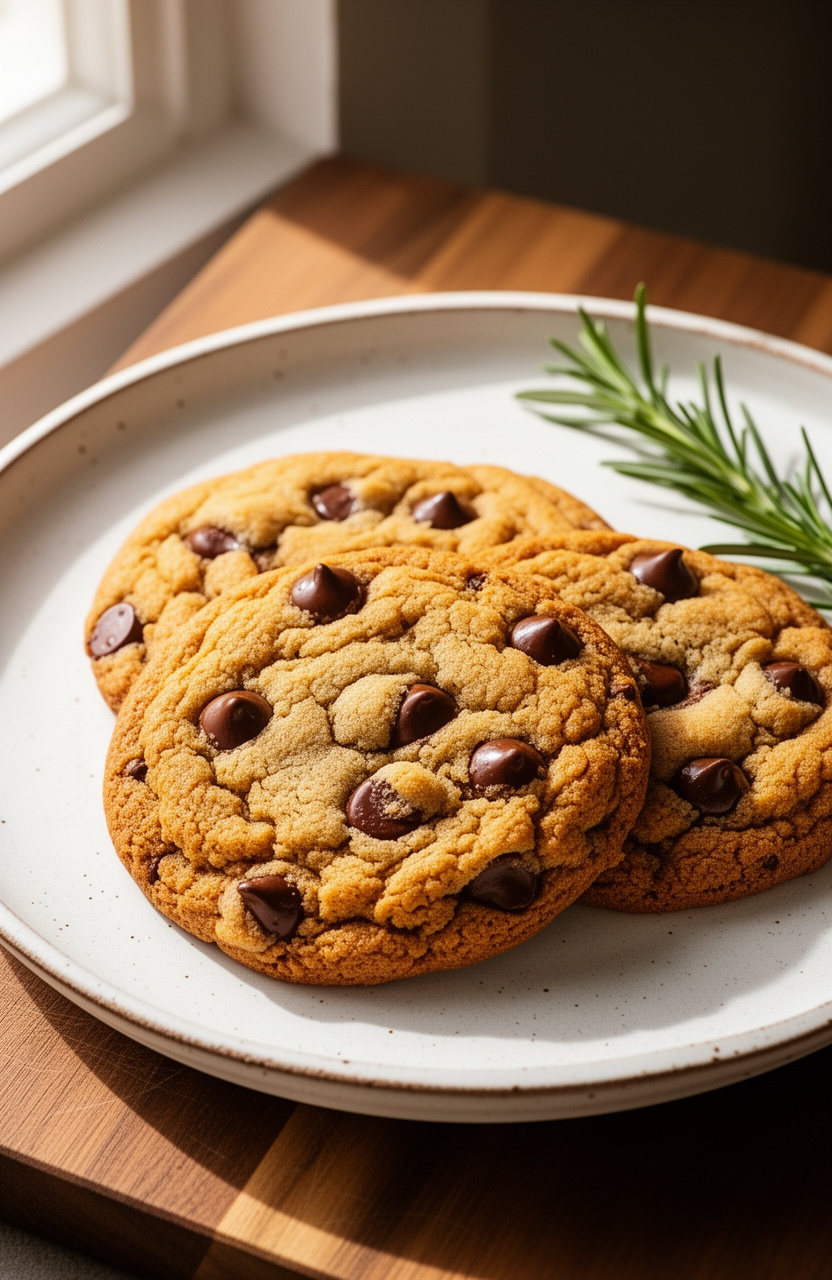
Soft Chocolate Chip Cookies (Chewy Bakery Style Cookies)
My grandmother kept a tin of chocolate chip cookies on her counter at all times, and I spent years chasing that exact texture — soft in the center, slightly crisp at the edge, and packed with melty chocolate in every bite. After way too many batches and more than a few disappointing flat cookies, I finally cracked the code.
These cookies are the ones I make when I want to impress someone or honestly just treat myself on a Tuesday. A few simple tricks make all the difference, and once you try them, store-bought will never quite cut it again.
Soft Chocolate Chip Cookies (Chewy Bakery Style Cookies)
Thick, golden-edged, and irresistibly chewy chocolate chip cookies that taste like they came straight from your favorite bakery.
Ingredients
- 2 1/4 cups all-purpose flour , spooned and leveled
- 1 tsp baking soda
- 1 tsp fine sea salt
- 1 cup unsalted butter , softened to room temperature
- 3/4 cup granulated sugar
- 3/4 cup packed light brown sugar
- 2 large eggs , room temperature
- 2 tsp pure vanilla extract
- 2 cups semi-sweet chocolate chips , plus extra for topping
- 1 tsp cornstarch , secret weapon for extra chew
Instructions
Tips & Notes
- Do not skip chilling the dough. It prevents spreading and gives you that thick, chewy center.
- Pull the cookies out when they still look slightly underbaked in the middle — they finish cooking on the hot pan and that is what keeps them soft.
- Browning your butter instead of using it softened adds an incredible nutty depth if you want to take these to the next level.
- Use a mix of chocolate chips and roughly chopped chocolate bars for those gorgeous melty puddles.
- All ingredients should be at room temperature before you start — especially the butter and eggs — for the smoothest, most even dough.
- Store baked cookies with a slice of white sandwich bread in the container. The cookies absorb the moisture from the bread and stay soft for days.
Nutrition per serving · estimated


Why Chilling the Dough Is Non-Negotiable
I know it is tempting to skip the chill step, especially when cookie cravings hit hard. But resting the dough in the refrigerator does two things that genuinely change the final cookie. First, it solidifies the fat so the cookies spread slowly and stay thick rather than melting into flat puddles. Second, the flour has time to fully hydrate and the sugars begin to break down slightly, which deepens the flavor in a way that is hard to explain but impossible to miss.
Even one hour makes a noticeable difference. If you can manage overnight, the cookies turn out with this almost toffee-like richness that makes them taste like they came from a serious bakery. I usually mix the dough the night before and bake them fresh the next day.
The Small Details That Make a Big Difference
Cornstarch might seem like an odd addition to a cookie, but it is one of my favorite little tricks. It interferes with gluten development just enough to keep the texture soft and tender rather than cakey or tough. Just one teaspoon does the job.
Using both brown sugar and white sugar is also intentional. Brown sugar brings moisture and that deep, molasses-tinged chew. White sugar helps the edges get that gentle crisp. Getting the ratio right between the two is part of what makes these feel bakery-style rather than just ordinary homemade. Every small choice adds up.