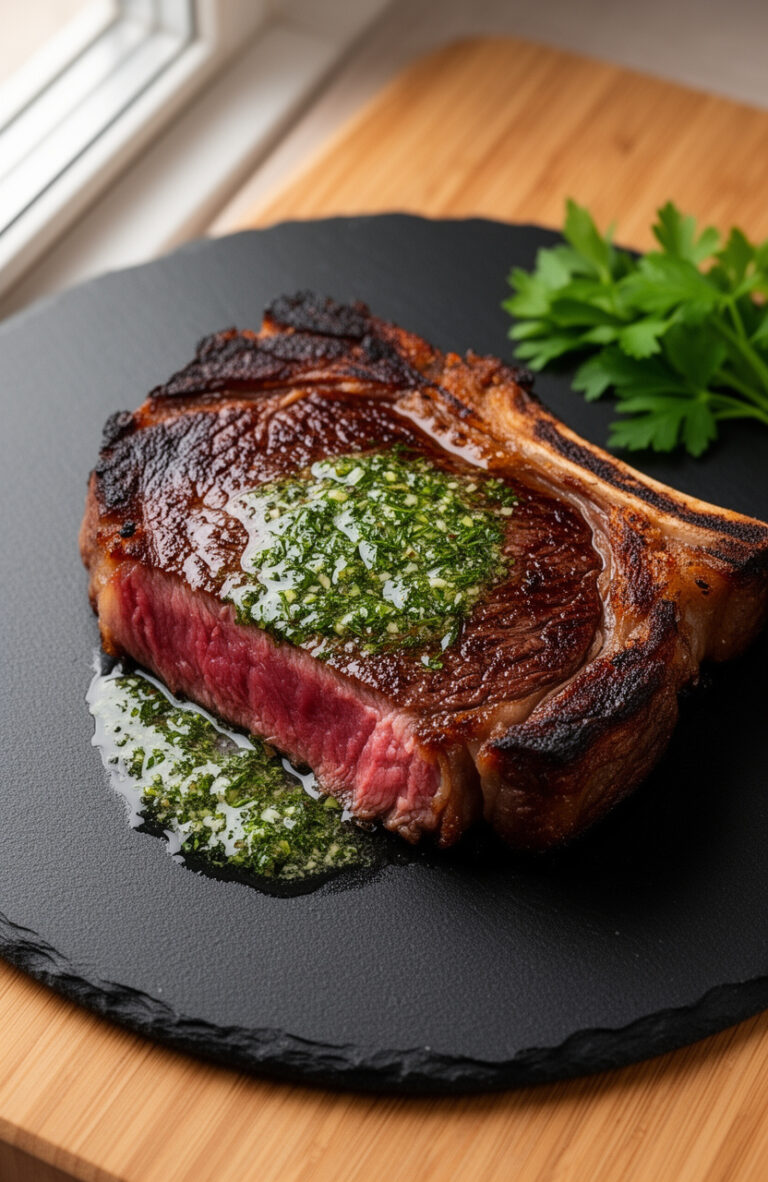
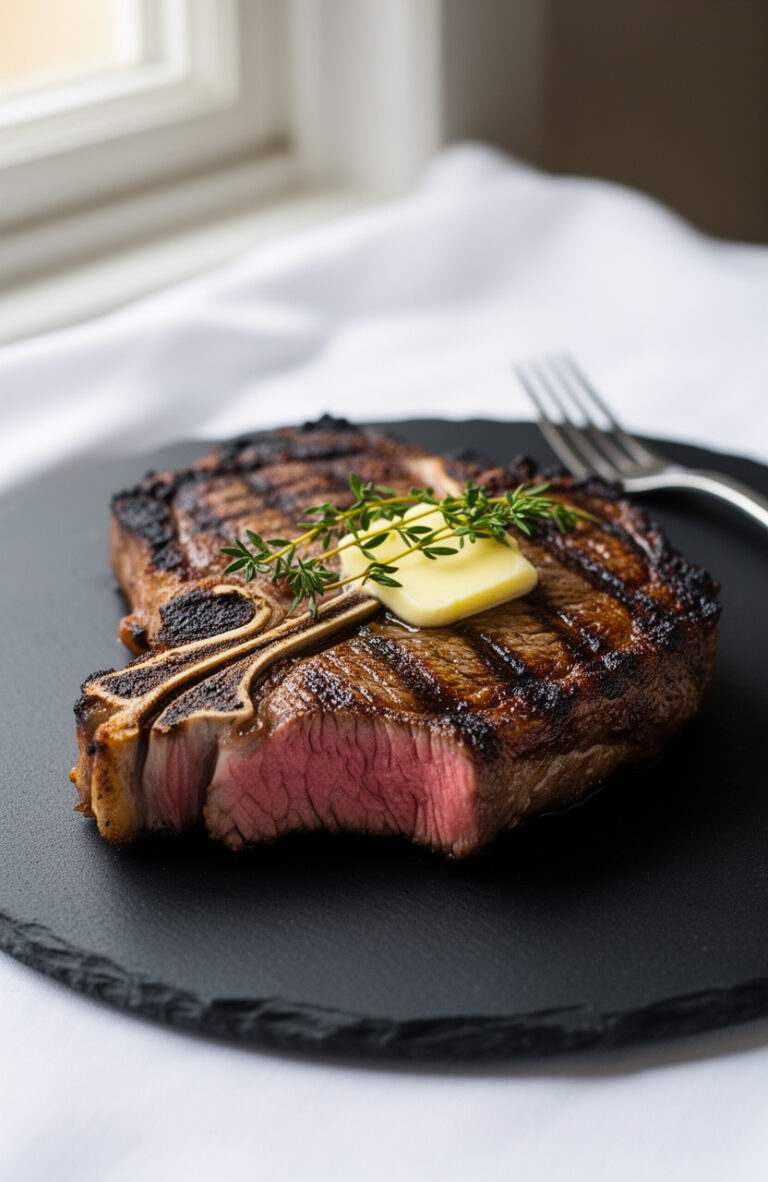
Reverse Seared Ribeye Steak with Perfect Crust
My husband used to order ribeye at restaurants because he said he could never get it right at home, and teaching him this method was the moment that changed dinner in our house permanently.
The reverse sear flips the usual order: oven first, sear second. That single change gives you control over the interior doneness before you ever touch a hot pan.
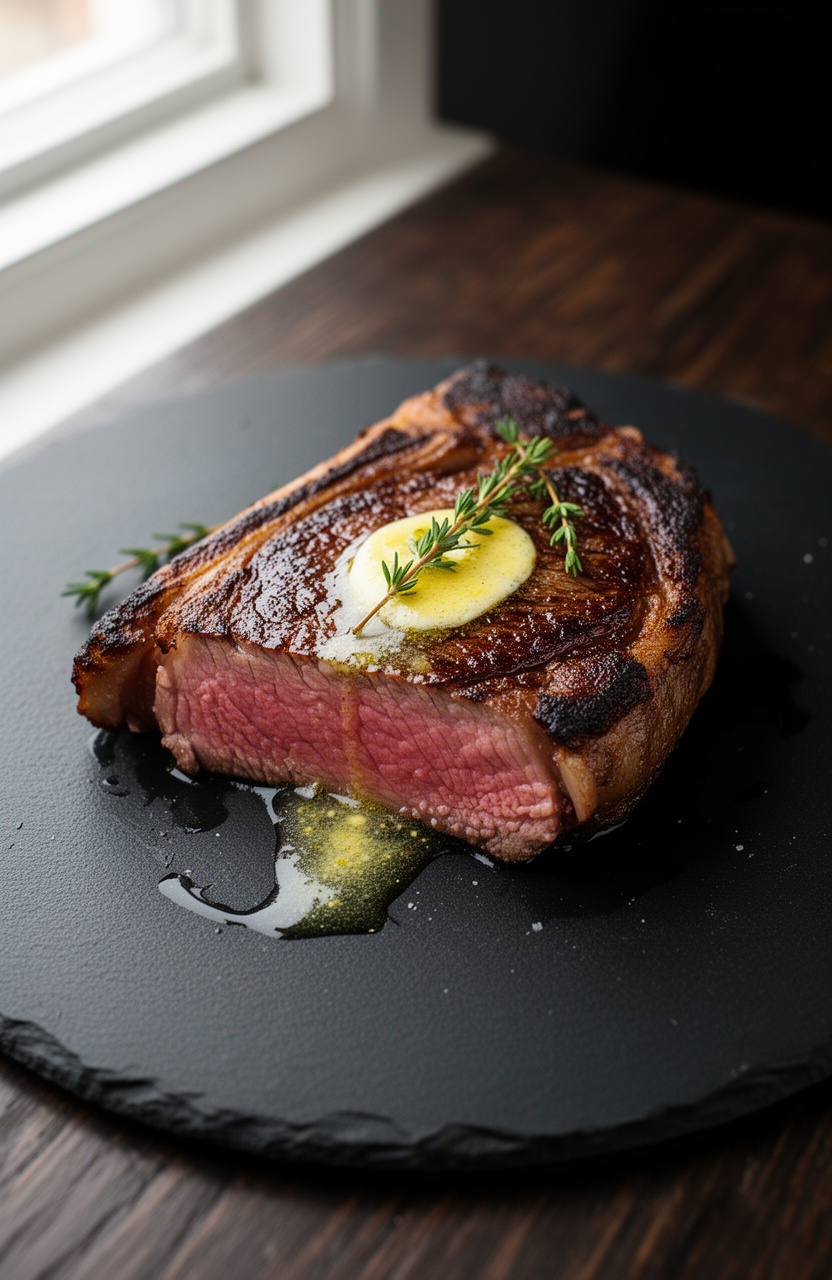
Reverse Seared Ribeye Steak with Perfect Crust
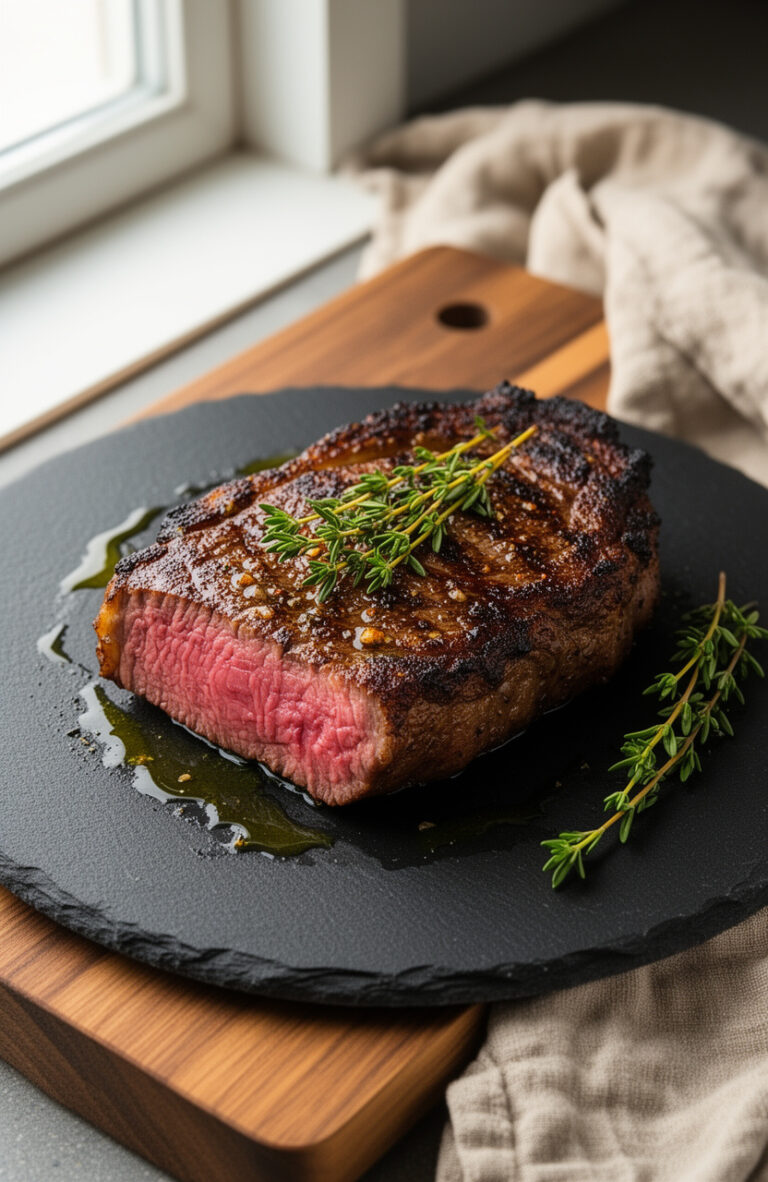
Low-and-slow oven heat followed by a screaming-hot sear gives you edge-to-edge pink with a crust that crackles when you cut into it.
Ingredients
- 2 bone-in ribeye steaks, 1.5 to 2 inches thick , about 1 lb each
- 2 tsp kosher salt , plus more to taste
- 1 tsp coarse black pepper , freshly ground
- 1 tsp garlic powder
- 2 tbsp neutral oil , such as avocado or canola
- 2 tbsp unsalted butter
- 3 garlic cloves , smashed, skin on
- 4 fresh thyme sprigs
Instructions
Tips & Notes
- Dry-brine the steaks uncovered on a rack in the refrigerator overnight for an even better crust. The salt draws out surface moisture and the fridge air dries it back down, giving you a drier exterior before the sear even starts.
- A thermometer is not optional here. The entire method depends on hitting an exact internal temperature in the oven, and visual cues alone will not tell you where you are.
- If your steaks are thinner than 1 inch, the oven phase will overcook them. This method is designed for steaks that are 1.5 inches thick or greater.
- Use the leftover garlic-thyme butter in the pan to dress roasted vegetables or spoon over sliced steak at the table.
Nutrition per serving · estimated


Why the oven comes first
Most searing methods cook from the outside in, which means the outer layers overcook before the center reaches the right temperature. Starting low in the oven brings the entire steak up to temperature gradually and evenly, so when you hit it with high heat at the end, you are only building crust, not trying to cook the interior at the same time.
The window between 125 and 145 degrees F closes fast over direct high heat. The oven gives you a slow, forgiving climb so you arrive at exactly the temperature you want, every time.
The pan matters more than you think
Cast iron holds heat through the thermal shock of a cold wet steak hitting its surface. A thinner pan loses heat immediately at that moment, and your sear becomes a steam instead of a crust. If you do not own cast iron, a carbon steel skillet is the next best option.
Get the pan genuinely hot before the oil goes in. Three to 4 minutes over high heat on a home burner feels like a long time, but it is what makes the difference between a crust that stays and a crust that tears when you slice.