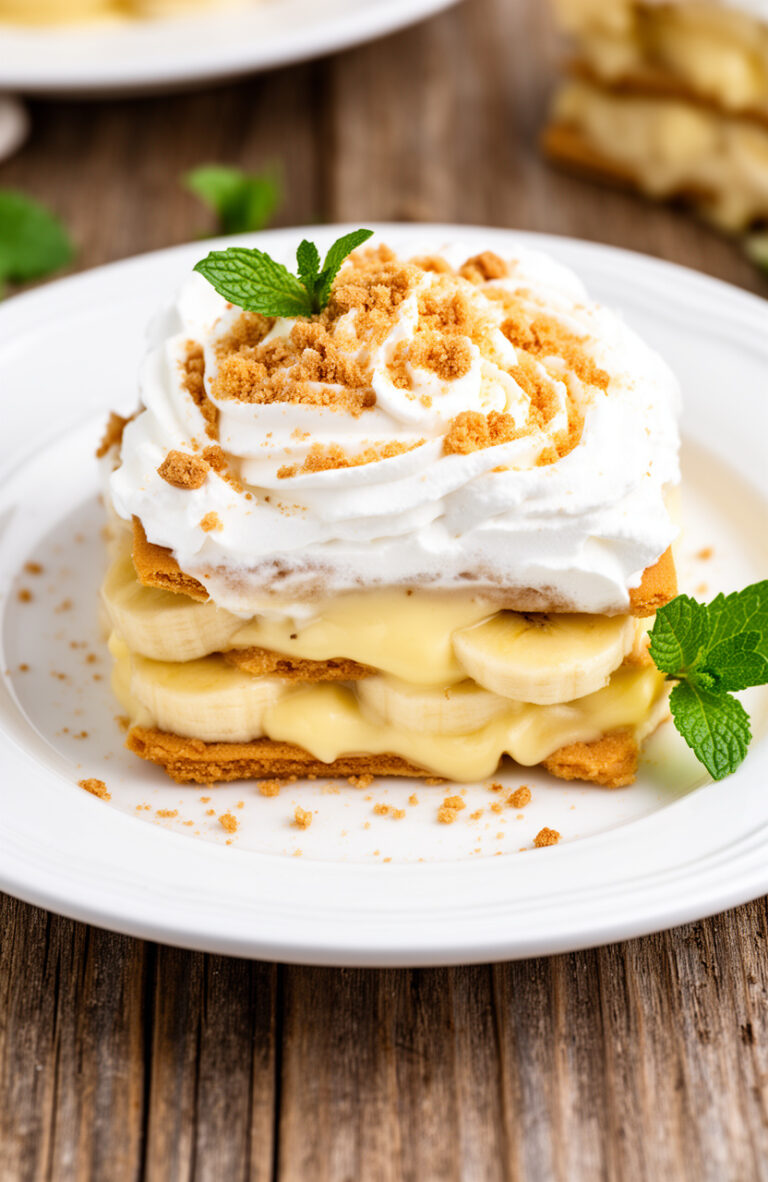
No-Bake Pineapple Dream Dessert
My grandmother used to make a version of this every single summer, and the smell of fresh pineapple still takes me straight back to her kitchen. This no-bake pineapple dream dessert is my updated take on that memory, and it comes together with almost no effort.
There is no oven required, no complicated techniques, and no reason to wait for a special occasion. Just a handful of simple ingredients, a little chill time, and you have a dessert that genuinely impresses every time I bring it to the table.
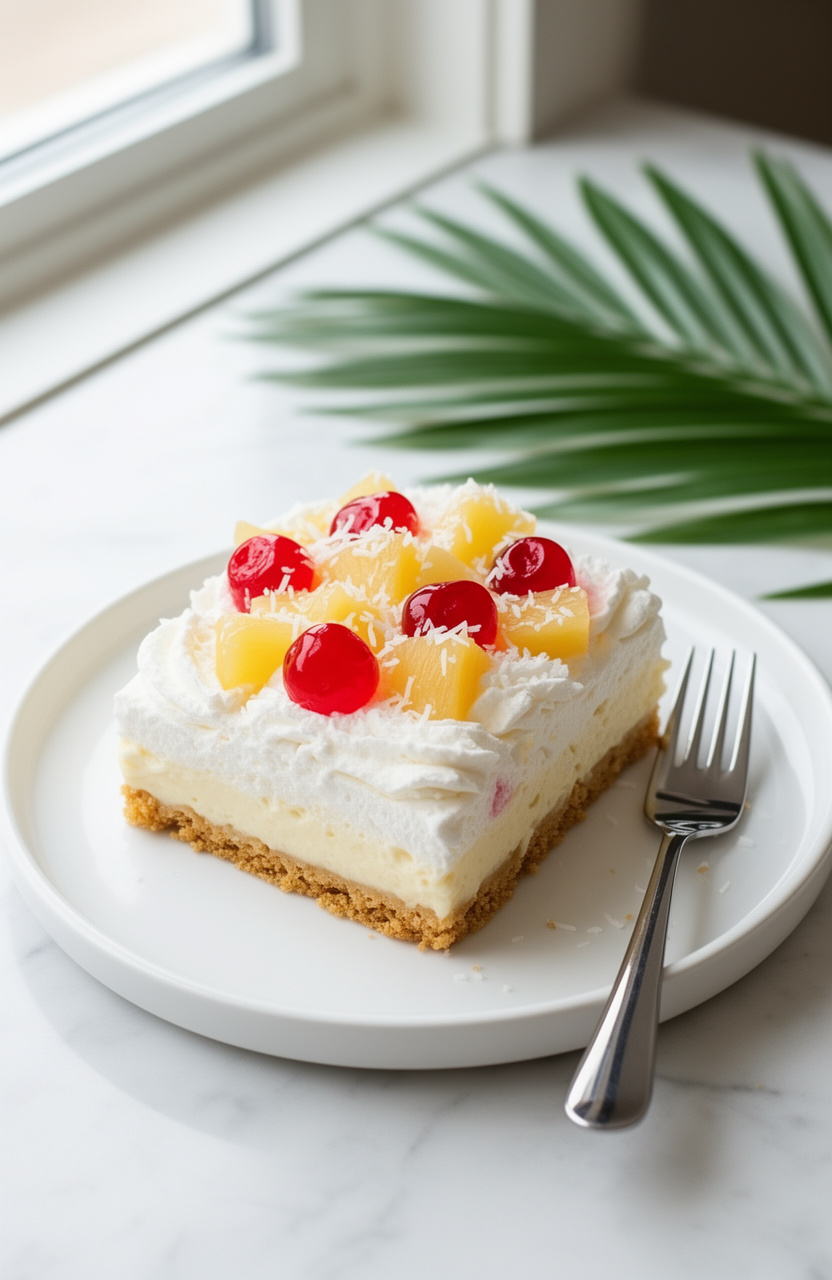
No-Bake Pineapple Dream Dessert
A creamy, tropical no-bake dessert layered with sweet pineapple and fluffy whipped filling that tastes like summer in every bite.
Ingredients
Crust
- 2 cups graham cracker crumbs , about 14 full crackers crushed
- 1/3 cup granulated sugar
- 1/2 cup unsalted butter , melted
Pineapple Cream Filling
- 8 oz cream cheese , softened to room temperature
- 1 cup powdered sugar , sifted
- 20 oz crushed pineapple , one can, well drained
- 8 oz whipped topping , such as Cool Whip, thawed
- 1 tsp vanilla extract
Topping
- 8 oz whipped topping , thawed
- 1/4 cup shredded sweetened coconut , toasted if preferred
- 1/2 cup crushed pineapple , drained, for garnish
- 1 handful maraschino cherries , optional, for a festive look
Instructions
Make the Crust
Make the Pineapple Cream Filling
Assemble and Chill
Tips & Notes
- Drain the crushed pineapple really well. I like to press it in a fine mesh strainer and then blot it with paper towels. Excess liquid is the number one reason this dessert turns out too soft.
- Softened cream cheese is non-negotiable. Cold cream cheese will leave lumps in your filling no matter how long you beat it.
- Toasting the coconut in a dry skillet over medium heat for 2 to 3 minutes gives it a gorgeous golden color and a deeper, nuttier flavor that pairs beautifully with the pineapple.
- This dessert is even better made the night before. The crust firms up and the filling becomes perfectly sliceable after a full night in the fridge.
- For a firmer crust, bake it at 350°F for 8 minutes and let it cool completely before adding the filling. It still counts as mostly no-bake in my book.
Nutrition per serving · estimated


Why Draining Your Pineapple Is the Most Important Step
Every single time I have seen this kind of dessert go wrong, it comes down to one thing: wet pineapple. Canned crushed pineapple holds an enormous amount of liquid, and if that liquid gets into your filling, no amount of chilling will save it from being a soupy mess.
The fix is simple but requires a little patience. Pour the entire can into a fine mesh strainer and let gravity do its work for a few minutes. Then use the back of a spoon to press out even more liquid, and finish by spreading the pineapple on a clean paper towel and pressing down. It sounds fussy, but it takes less than five minutes and completely changes the final texture.
Making It Your Own for Any Summer Gathering
This dessert is wonderfully forgiving and easy to dress up or keep simple depending on the occasion. For a backyard barbecue, the maraschino cherries and toasted coconut make it look festive without any extra effort. For a more elegant dinner party, you can skip the cherries and add a few thin fresh pineapple slices on top instead.
You can also press this into a 9×13 inch pan if you are feeding a larger crowd, just know the layers will be a bit thinner. Some people in my family like to add a thin layer of pineapple jam between the crust and the cream filling for an extra punch of tropical flavor, and honestly that version is incredible too.