Easy Charcuterie Picnic Box (Aesthetic Outdoor Grazing Board for Summer)
My neighbor brought one of these to a school fundraiser and I spent 20 minutes pretending to browse the silent auction just so I could keep eating from it.
This box takes 15 minutes of active assembly. You are not cooking anything. You are making decisions about placement, and those decisions matter more than you think.
Easy Charcuterie Picnic Box (Aesthetic Outdoor Grazing Board for Summer)
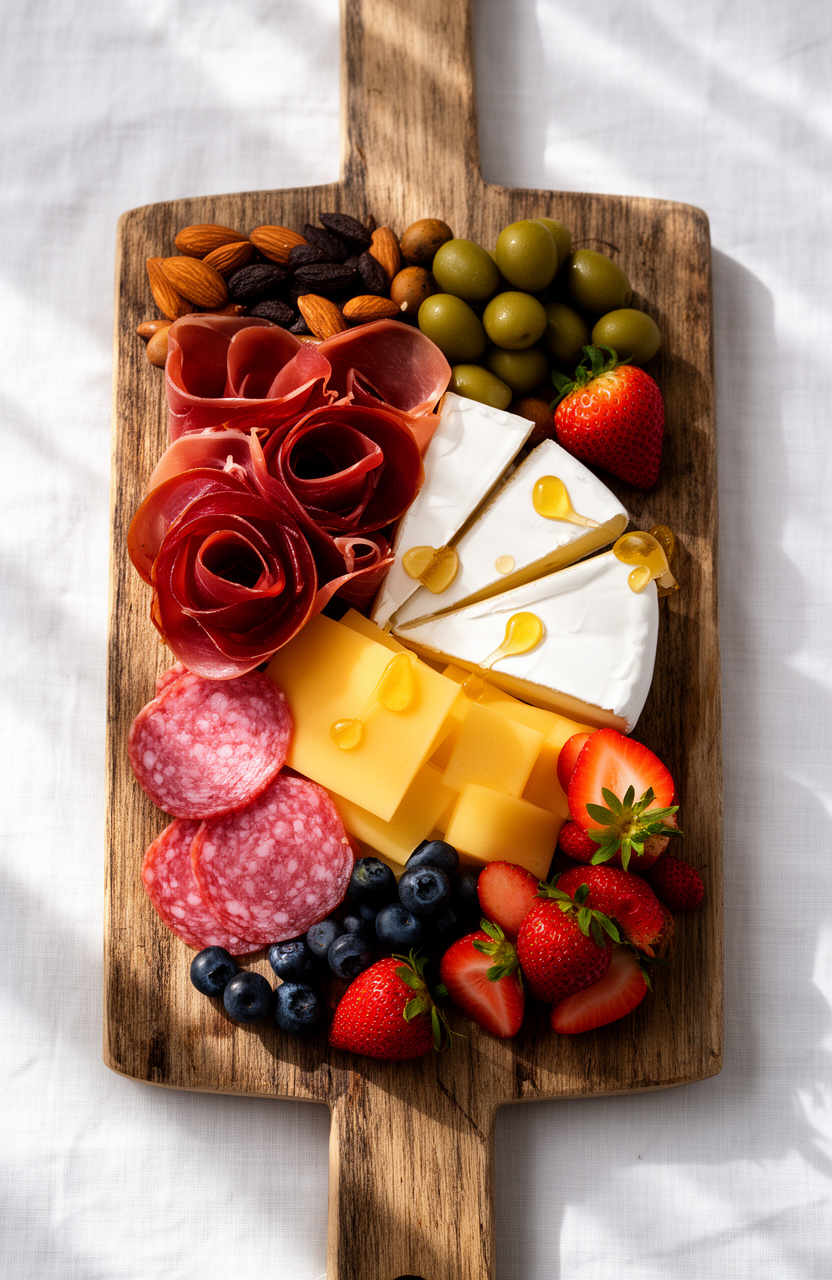
A portable grazing box packed with cured meats, cheese, fruit, and crackers that looks intentional without taking all morning.
Ingredients
Meats
- 3 oz prosciutto , fold into loose rosettes
- 3 oz soppressata or hard salami , sliced thin
- 2 oz pepperoni
Cheeses
- 4 oz aged cheddar , cut into small rectangles
- 4 oz brie or camembert , small wedge, leave rind on
- 2 oz manchego or gouda , sliced or cubed
Crackers and Bread
- 1 cup water crackers , or any neutral cracker
- 6 slices sliced baguette , or use gluten-free crackers to keep it GF
Fresh Fruit
- 1 cup seedless red grapes , kept on small stems if possible
- 1 cup fresh strawberries , hulled, halved if large
- 1 cup blueberries , rinsed and dried completely
Extras and Fillers
- 1/4 cup Castelvetrano olives , or any mild green olive
- 1/4 cup Marcona almonds or roasted mixed nuts
- 3 tbsp honey , in a small jar or ramekin
- 3 tbsp whole grain mustard , in a small jar or ramekin
- 2 oz dark chocolate squares or chocolate bark
Instructions
Tips & Notes
- Dry every piece of fruit completely before it goes in the box. One wet blueberry will make your crackers soft within 30 minutes.
- If the weather is over 75 degrees Fahrenheit, soft cheeses like brie go rubbery after about 45 minutes outside. Keep the box in a cooler until 10 minutes before you set it out.
- Castelvetrano olives are milder and butter-soft compared to briny kalamatas. If you are feeding people who say they do not like olives, start here.
- Build the box up to 2 hours ahead and refrigerate it uncovered for 10 minutes before sealing so condensation does not form inside the lid.
- One box feeds 4 people as a starter or snack. For a full lunch for 4, double the meat and cheese portions and add a second cracker variety.
Nutrition per serving · estimated


What Box Actually Works for This
A shallow wooden wine box or a divided bento container with a secure lid both travel well. The key is that nothing has more than half an inch of vertical room to shift. Deep containers let everything slide.
I use a 9 by 13 inch lidded food prep container from the grocery store. It costs about four dollars, it fits in a standard tote bag, and it washes clean. Pretty boxes photograph better but the plastic one has made it to more picnics.
The Order of Assembly Is the Whole Trick
Most people fill the center of the box first and then run out of room at the edges. Start with your anchors at the corners, build your largest items next, and fill gaps last with small things like blueberries, almonds, and chocolate.
If you place crackers before fruit, the crackers claim more space than they need. Fruit compresses slightly and fills odd shapes. Crackers do not. Fruit goes in second to last, crackers go in last.