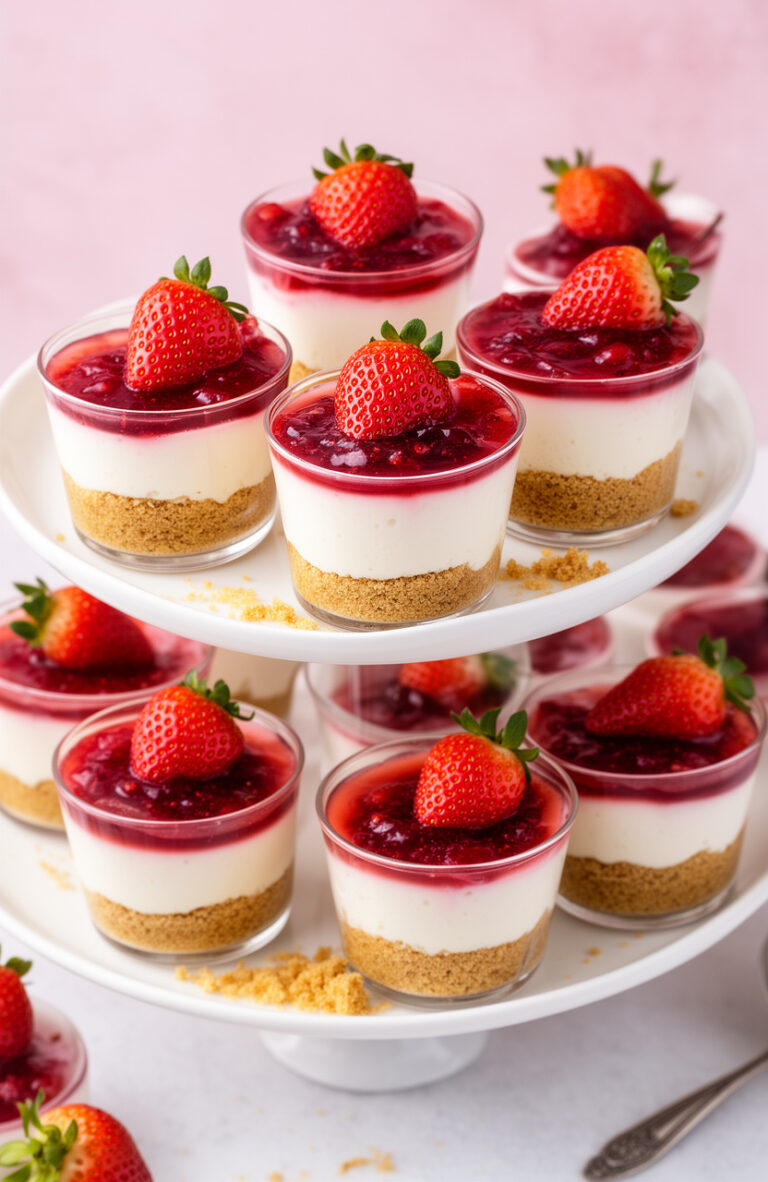
Aesthetic No-Bake Raspberry Cheesecake Jars for Cute Dessert Tables
I first made these for my best friend's bridal shower, and honestly they stole the whole show. Little jars lined up on a tiered tray with fresh raspberries on top — I still think about how pretty that table looked.
The best part is there is no baking, no water bath, no stress. Just a handful of ingredients and some patience while they chill, and you end up with something that looks completely impressive for almost no effort.
Aesthetic No-Bake Raspberry Cheesecake Jars for Cute Dessert Tables
Creamy, dreamy raspberry cheesecake layered in little jars with zero oven time required.
Ingredients
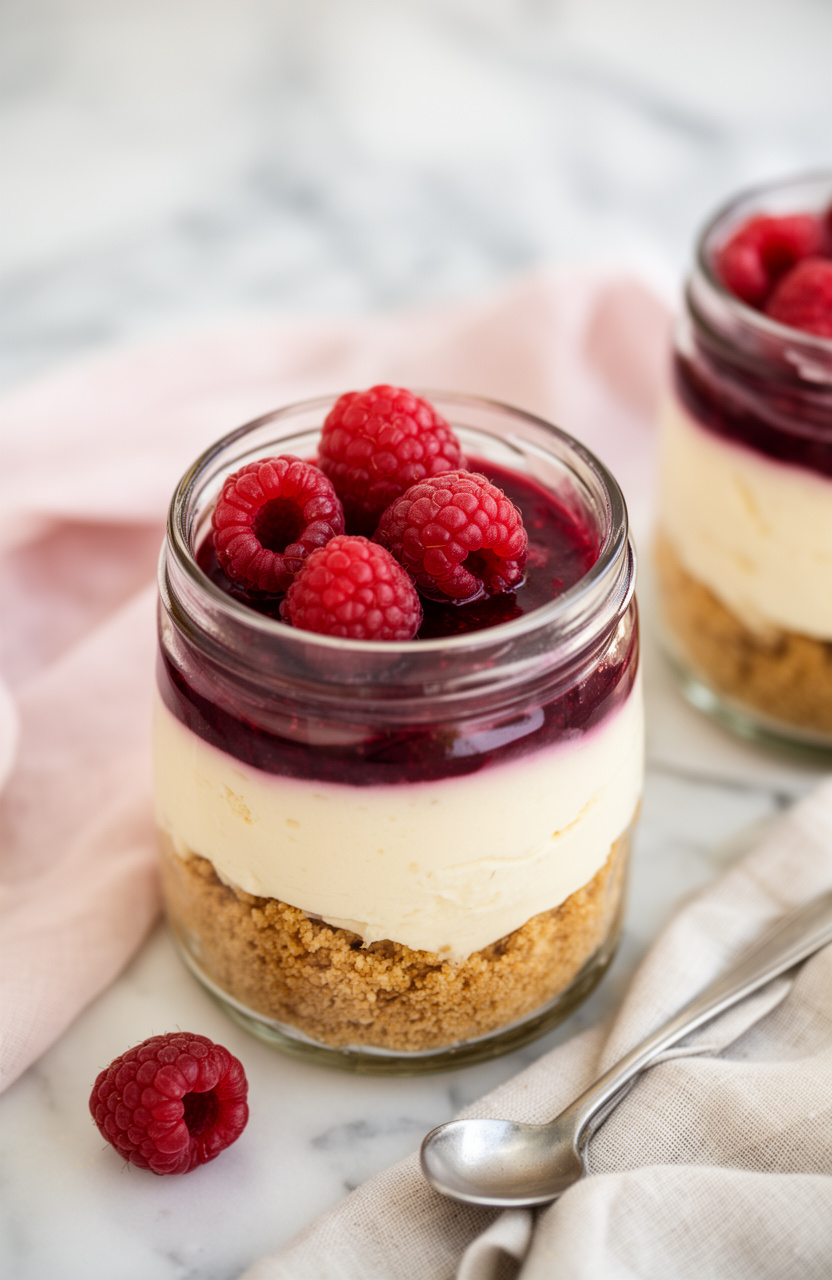
Graham Cracker Crust
- 1.5 cups graham cracker crumbs , about 10 full crackers
- 3 tbsp granulated sugar
- 5 tbsp unsalted butter , melted
Cheesecake Filling
- 16 oz cream cheese , full-fat, softened to room temperature
- 0.5 cup powdered sugar , sifted
- 1 tsp pure vanilla extract
- 1 tbsp fresh lemon juice
- 1 cup heavy whipping cream , cold
Raspberry Layer
- 2 cups fresh raspberries , divided, plus extra for topping
- 3 tbsp granulated sugar
- 1 tbsp lemon juice
- 1 tsp cornstarch , mixed with 1 tsp cold water
Instructions
Make the Raspberry Sauce
Make the Crust Layer
Make the Cheesecake Filling
Assemble the Jars
Tips & Notes
- Make sure your cream cheese is fully at room temperature before mixing or you will end up with a lumpy filling that is hard to smooth out.
- The raspberry sauce can be made a full day ahead and stored in the fridge, which makes assembly even faster.
- For the prettiest presentation, use a piping bag fitted with a large round tip to add the cheesecake filling layers neatly.
- Wide-mouth 8-oz mason jars work perfectly for this recipe and look adorable on a dessert table.
- If fresh raspberries are expensive or out of season, frozen raspberries work just as well for the sauce layer u2014 just thaw them first.
Nutrition per serving · estimated
Why These Jars Are Perfect for Dessert Tables
Individual jars are genuinely one of the best formats for party desserts. There is no slicing, no serving utensils to manage, and every single guest gets their own perfectly portioned little jar. It takes so much stress out of hosting.
They also hold up really well in the fridge, so you can make them the night before your event and just pull them out when guests arrive. That is the kind of make-ahead magic that makes entertaining actually enjoyable.
Little Ways to Make Them Extra Cute
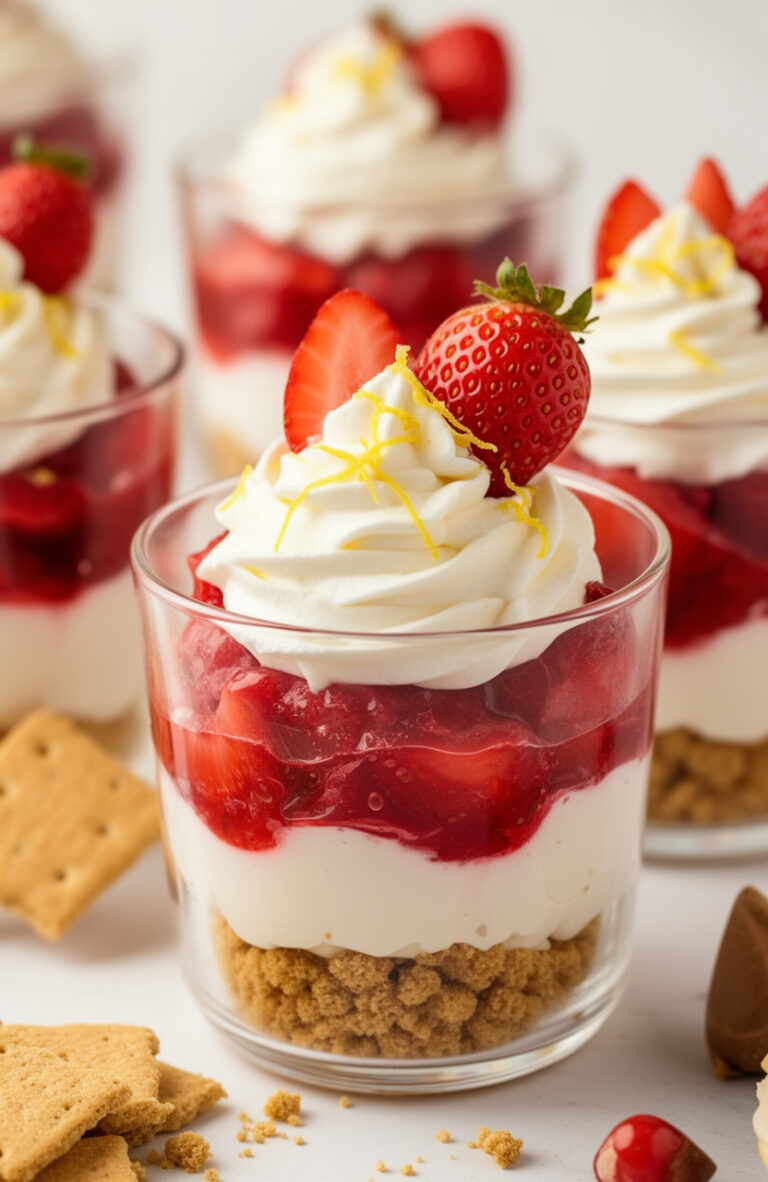
A few simple touches go a long way when you are styling these for a table. Try tying a small piece of twine around each jar lid, or tuck a tiny sprig of fresh mint next to the raspberries on top for a pop of green against the pink.
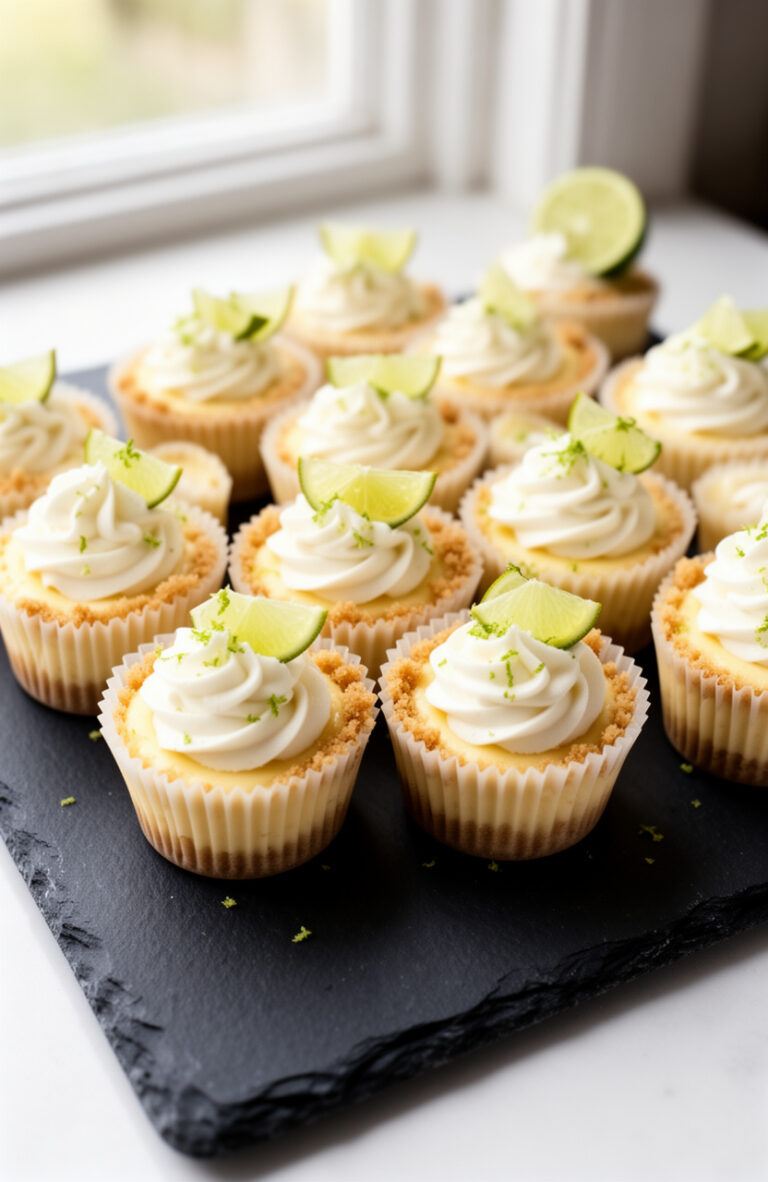
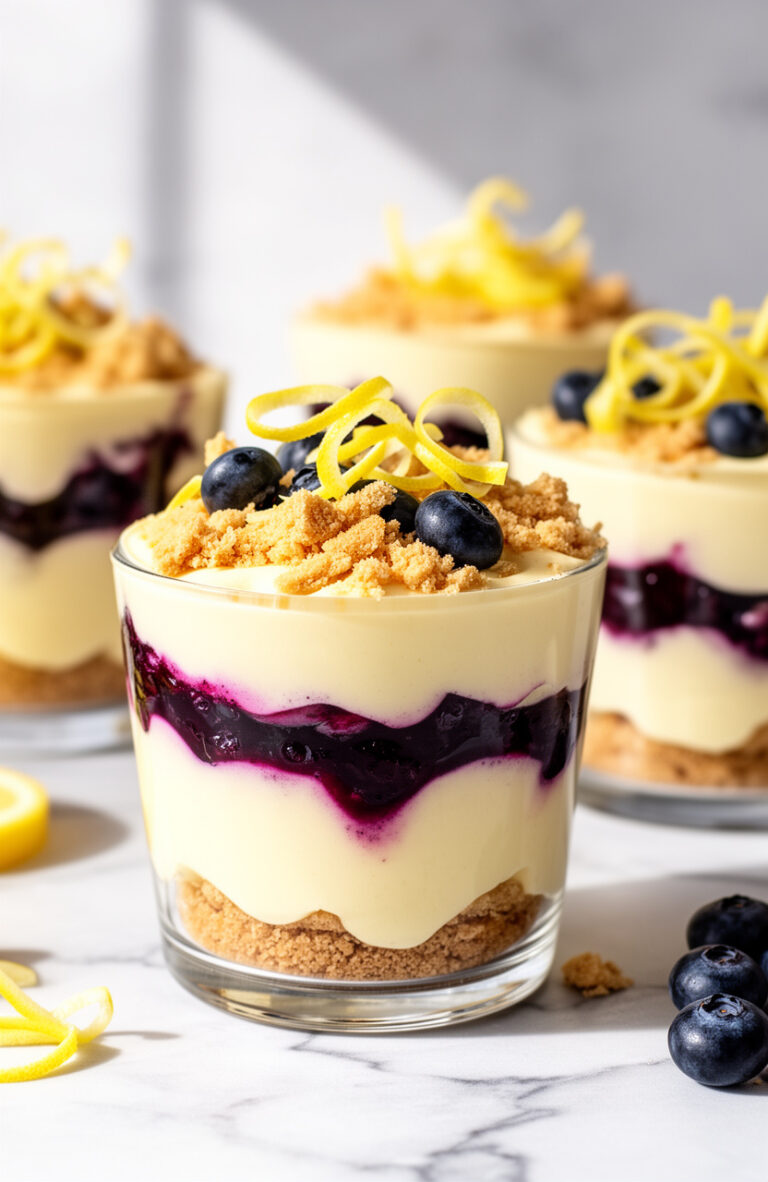
You can also switch up the berry layer depending on the season or the color palette of your event. Strawberry sauce gives a slightly softer pink, while a blueberry compote makes a stunning deep purple version that looks beautiful at garden parties or baby showers.